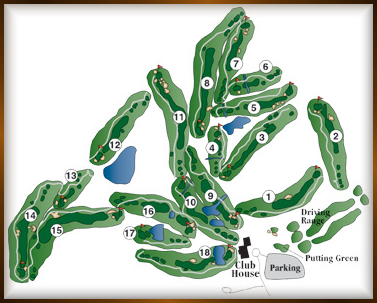
Hole 1 | Par 4
STARTING GATE
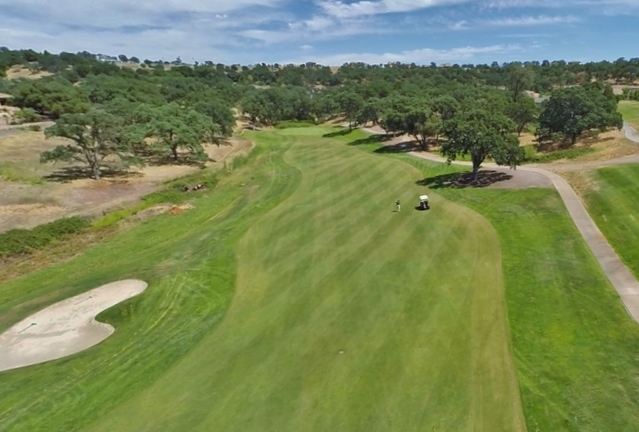
Get off to a fast start on this gentle dogleg left. From the tee, which was once the starting gate of Whitney’s race track, stay right center with your first shot. Even your second shot should favor the right as everything slopes left. A par here and you are off and running.
Hole 2 | Par 4
THE BLUFF
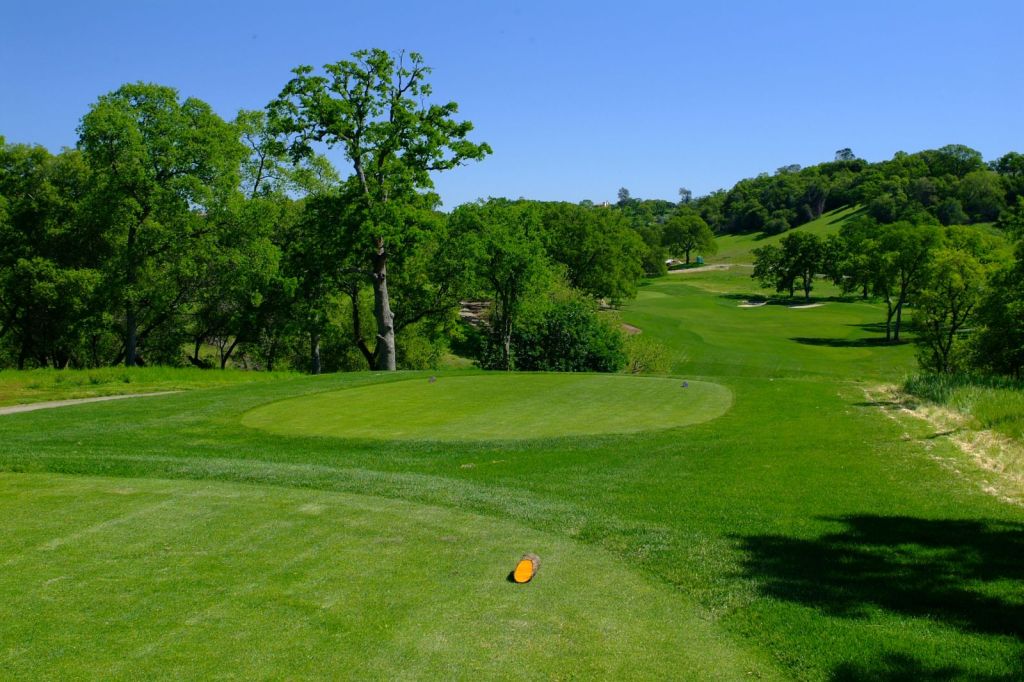
High above the fairway, tee shots should soar toward the strategically placed fairway bunker leaving a short iron to the sloping green. A well-placed drive and second shot is required to overcome “The Bluff.”
Hole 3 | Par 4
BEAR TOOTH
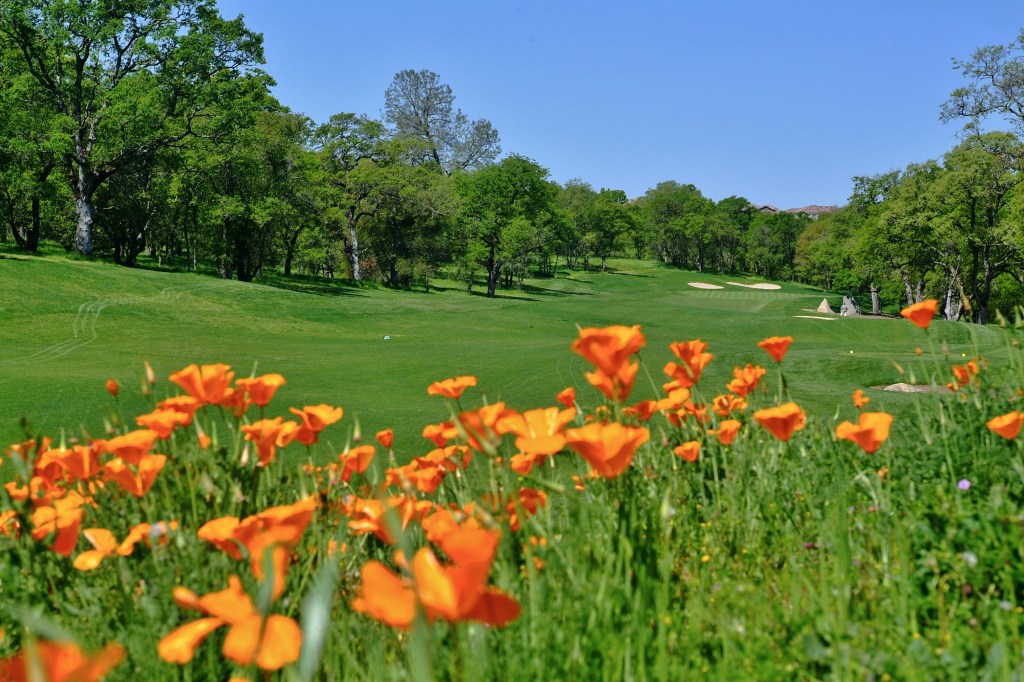
A challenging par four. Keep it in play off the tee and try not to miss the green to the right side where the “Bear Tooth” awaits you.
Hole 4 | Par 3
GUN SIGHT
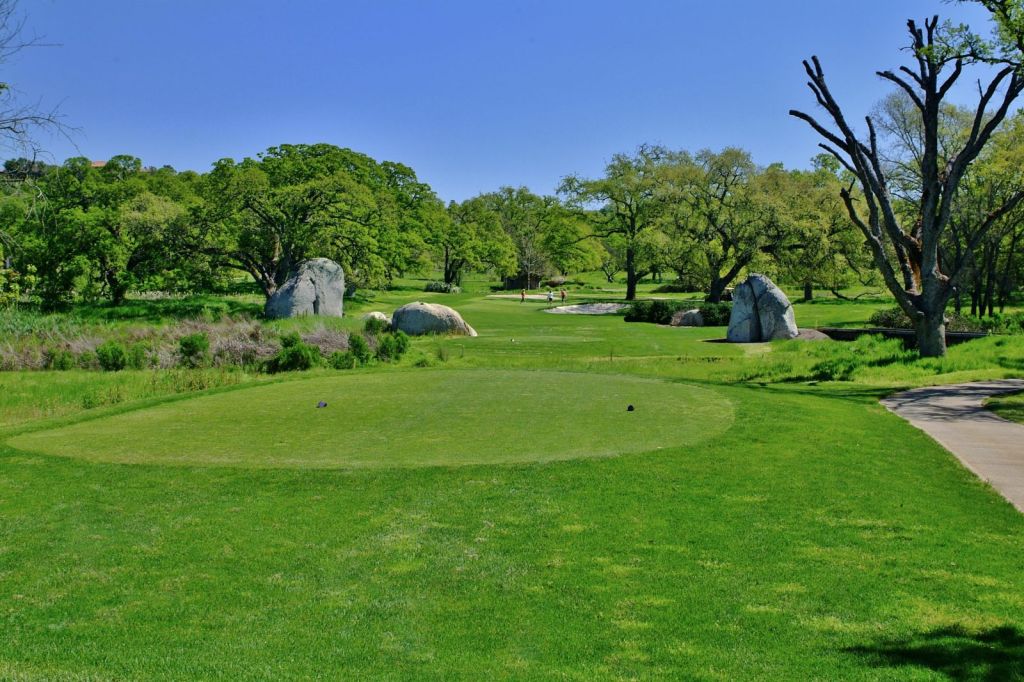
This beautiful straight forward par 3 is sculptured through magnificent granite outcroppings and lined by oaks. Take you guard down, this hole can backfire on you. The long green can add two clubs to your selection.
Hole 5 | Par 4
THE REPUBLICAN
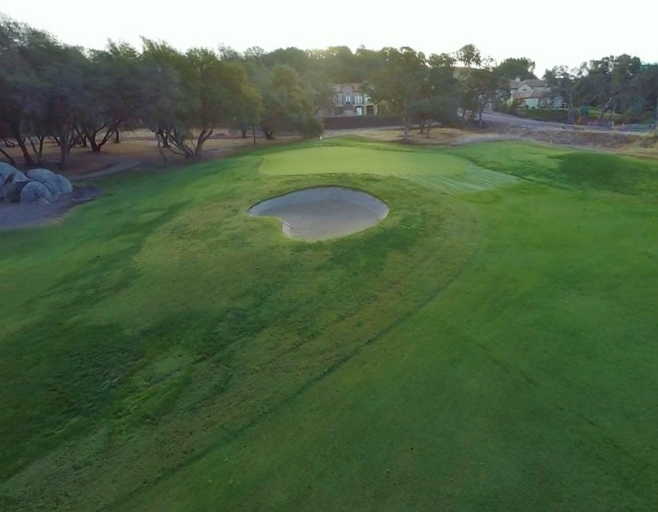
Curving to the left, your tee shot must favor the right side. This is a good time to leave the driver in the bag! Venture even slightly to the left, your approach shot will be blocked by the overhanging tree limbs to the large elevated green.
Hole 6 | Par 3
HIDDEN CREEK
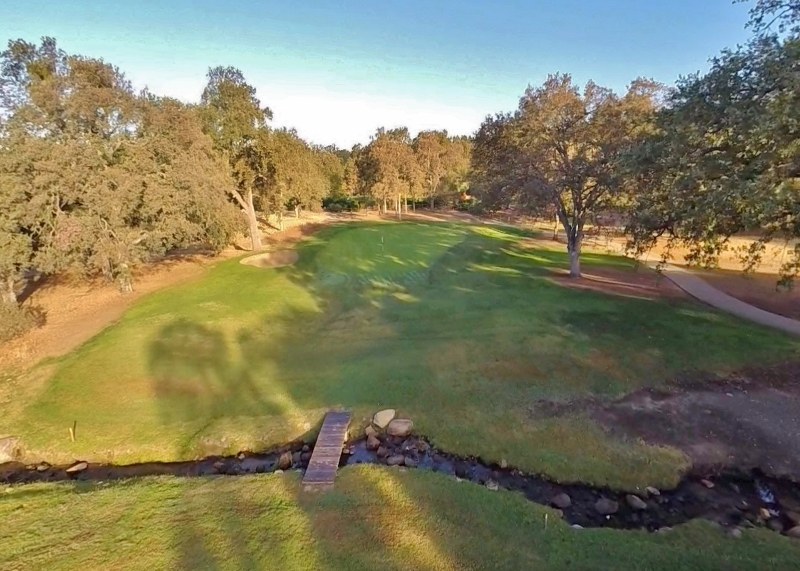
Don’t be fooled, this long par three requires a well-struck tee shot. Out of view from the tee lies a hidden creek and beware of the large tree to the right. A tee shot anywhere on the green is to be commended.
Hole 7 | Par 4
OLD GRANDAD
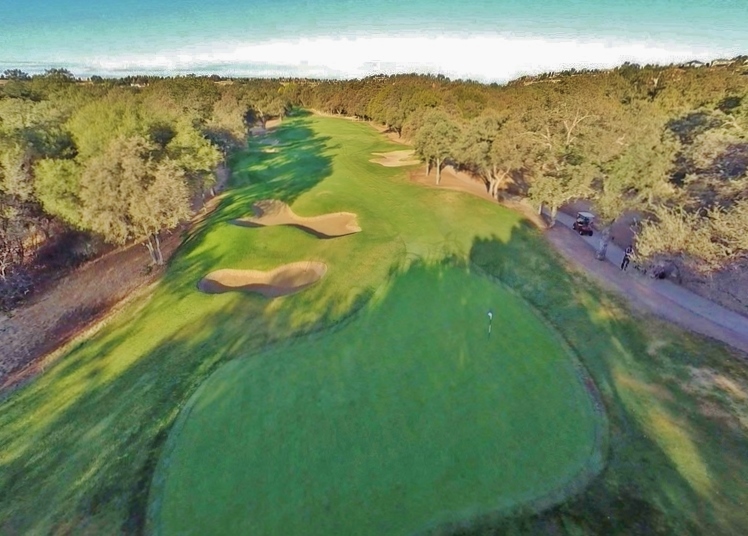
This short par four will tease you to go with the big stick. Only the best of drives will be rewarded because of the fairway bunkers protecting both sides of the fairway. And be ever-respectful as “Old Grandad” on the right lurks by.
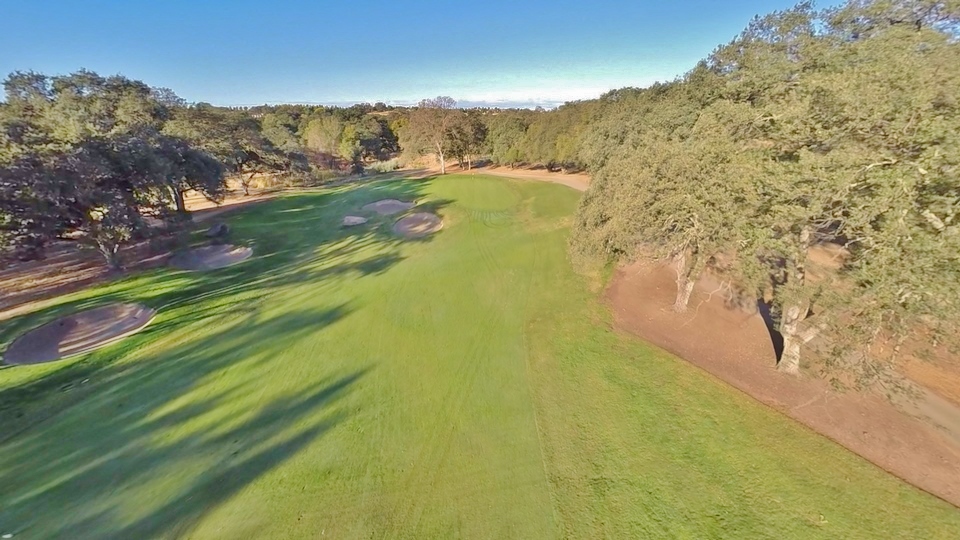
Hole 8 | Par 5
FARR AWAY
The first of the par fives and labeled the hardest hole on the course. There is a generous landing area that can be found with a driver or 3 wood depending on the shot you want to hit. Your second shot should be aimed favoring the left side of the fairway as to avoid the large tree on the right. Try to keep your approach shot below the pin here.
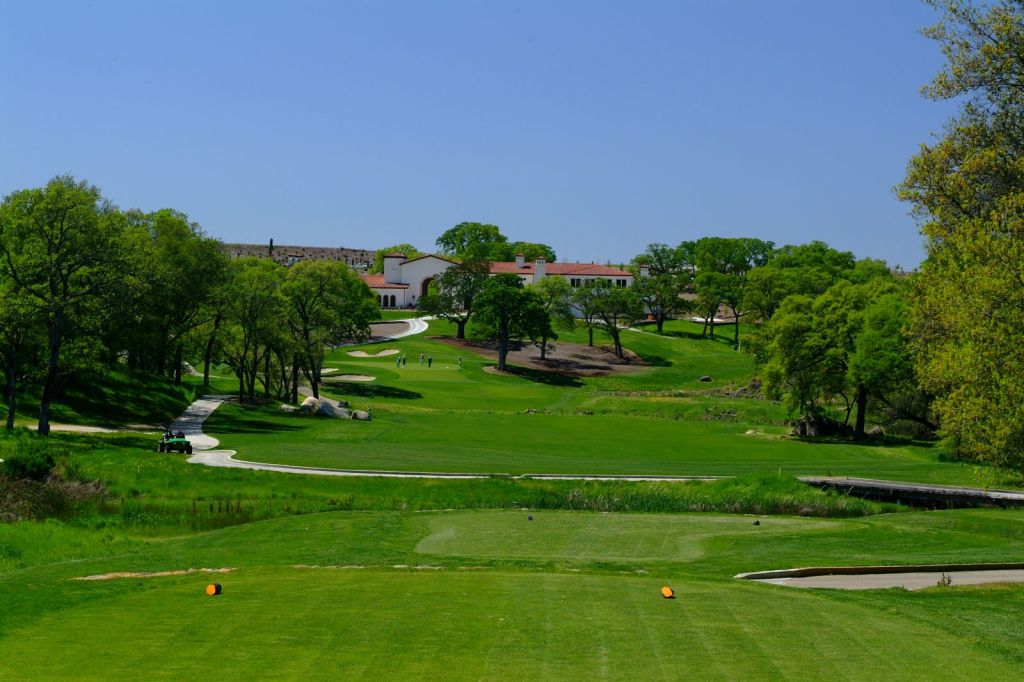
Hole 9 | Par 4
TWO HOP
Finishing the front nine on this magnificent par four can begin with a driver or 3 wood down the middle of the fairway. You’ll want to stay short of the creek which lies 125 yards short of the green. Your approach shot is going to have to negotiate three large bunkers on the left side of the green. Watch for a tree and a hazard on the right.
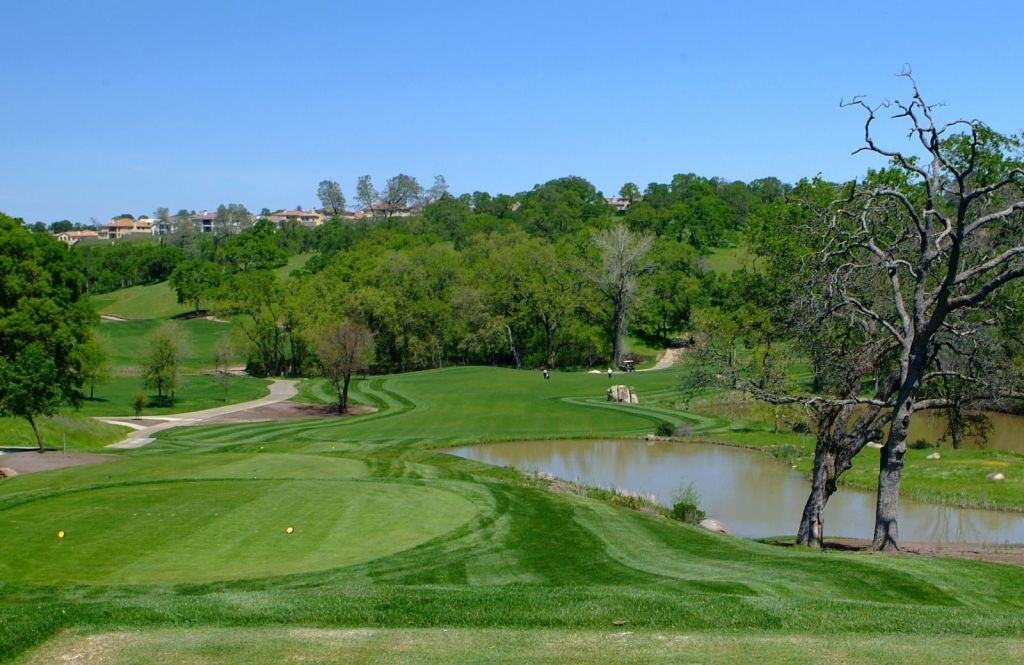
Hole 10 | Par 4
NARROWS
Your tee shot should carry between 200-250 yards left center of the fairway from this beautiful elevated tee area. Once you have successfully reached the fairway, you have a short iron approach. A word of wisdom, “stay below the pin!”
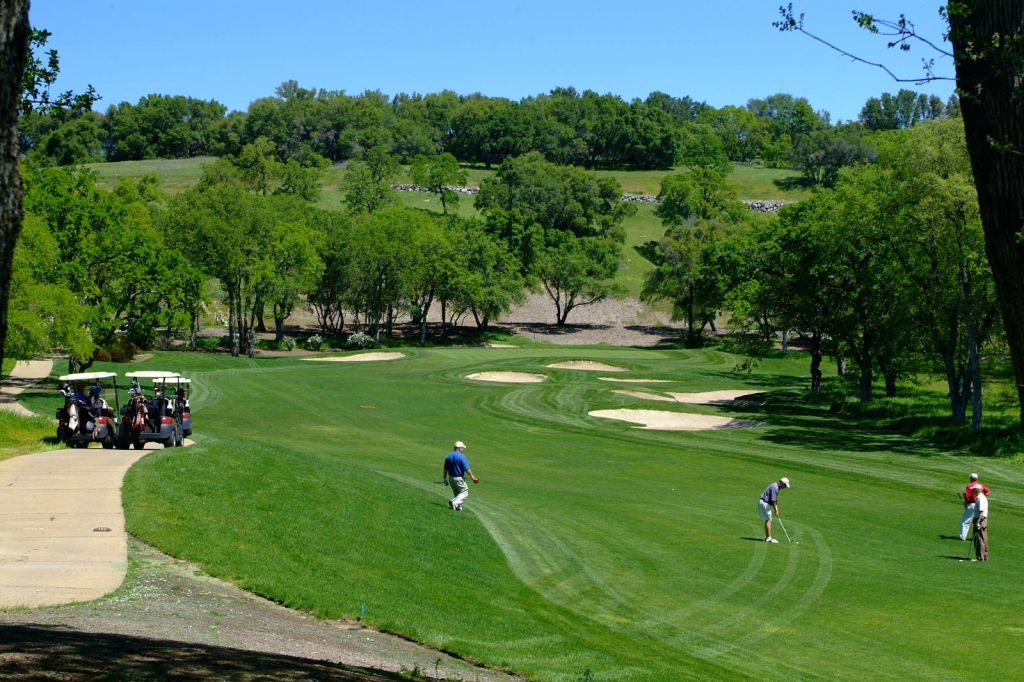
Hole 11 | Par 5
INDIAN CAMP
Double dogleg par 5. A good tee shot favoring the right side of the fairway puts you in excellent position to thread your shot through the bunkers. Lay up your second shot, stay left of the fairway bunker. This landing area will help set up a birdie possibility.
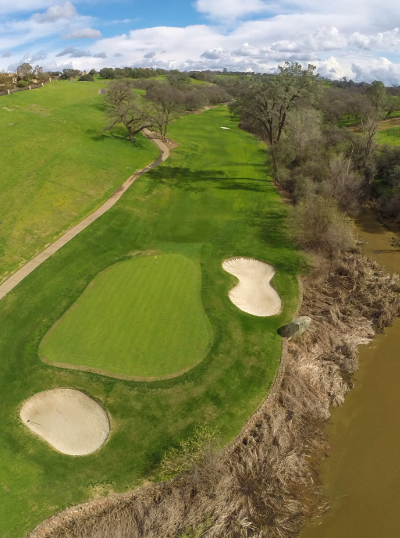
Hole 12 | Par 4
WEE BURN
Your tee shot on this beautiful short but demanding par four will have tendency to bounce slightly to the left. Avoid hitting too far right for it might stay up in the rough on the hill leaving you a very difficult approach over the large tree. Left of the green is a hidden lake.
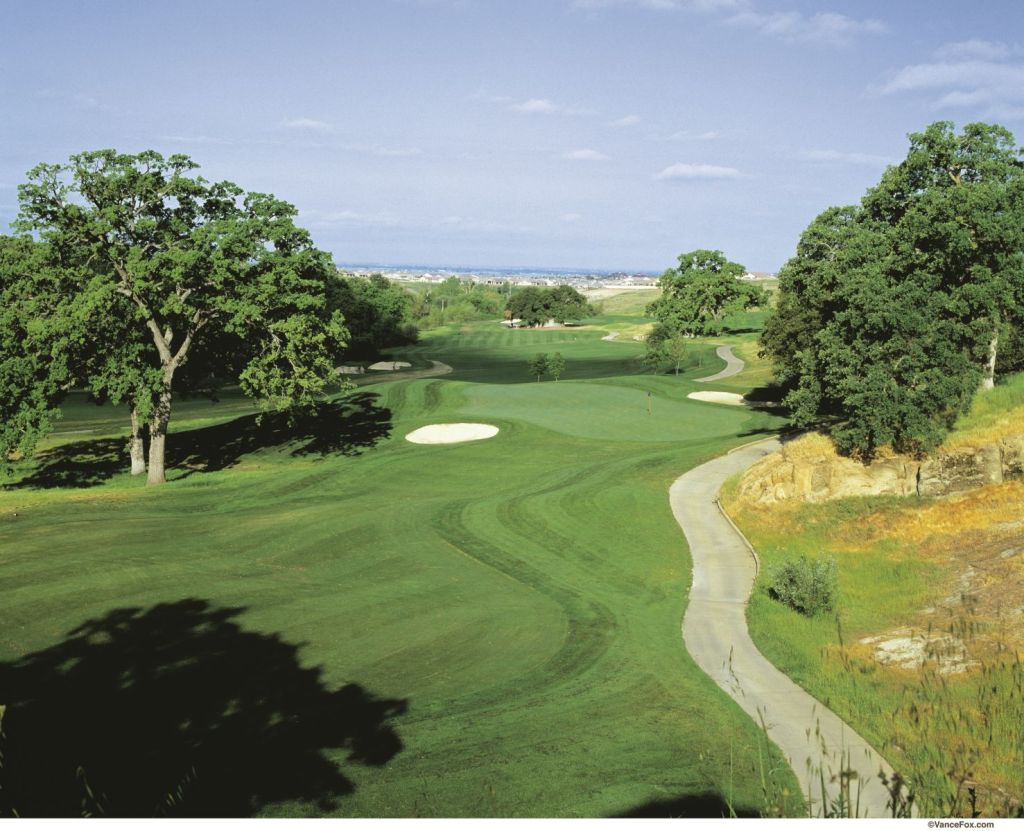
Hole 13 | Par 3
UP TOP
Carved from an old granite quarry, this gorgeous par three has a two tiered green that is protected by bunkers front and back right. Usually wind swirls here, making club selection even more difficult. The spacious green results in many three putts.
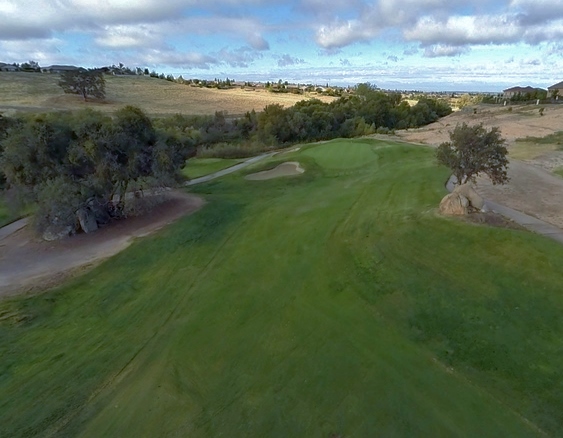
Hole 14 | Par 4
VALLEY VIEW
After taking in the view, grab your driver to hit your best shot of the day favoring the right side of the fairway. Your approach shot will hit from a side hill downhill lie to a green surrounded by trouble.
Hole 15 | Par 5
MEDICINE ROCK
The last of the Catta Verdera par fives is a spectacular dogleg right. Take aim at the bunkers straight down the middle, the slope of the fairway will carry your ball around the corner. The green is very undulated and club selection is crucial. Avoid back left of the green. Tough birdies, but good solid pars.
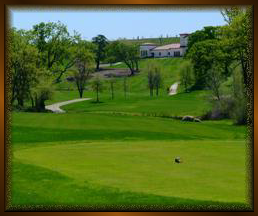
Hole 16 | Par 4
WHITNEY CROSSING
You will want to favor the left side of the fairway to avoid a large oak guarding the right. The left side of the fairway opens up the green. Be sure to take enough club for your second shot to reach the large elevated green. The green is guarded by three large bunkers on the left and bunker on the right.
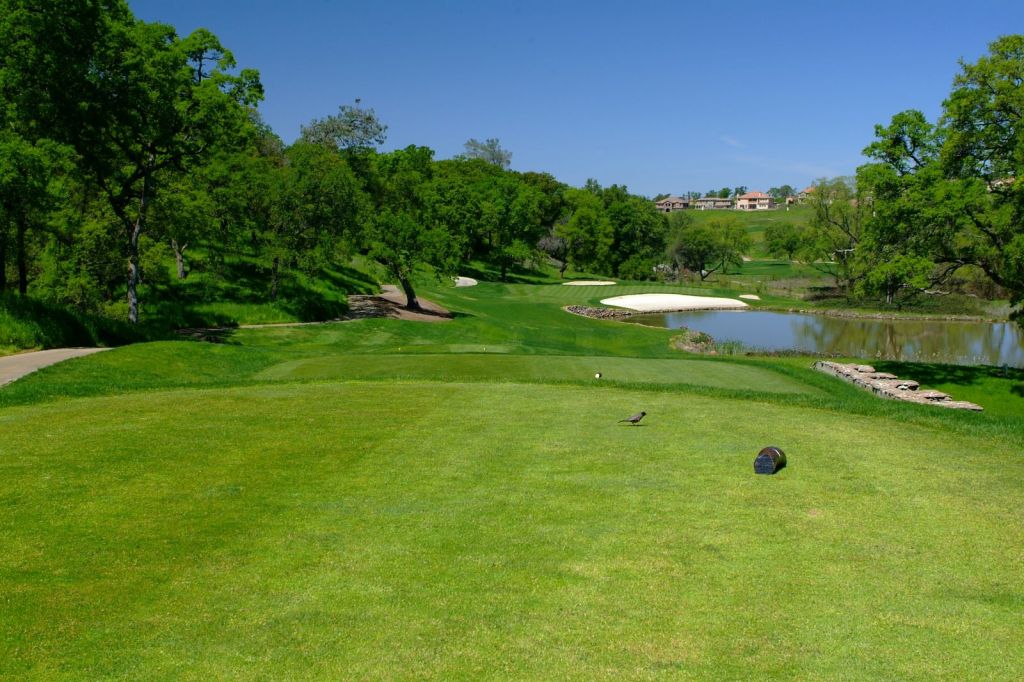
Hole 17 | Par 3
REFLECTIONS
This beautiful, peaceful and serene par three is one that will add up to a very high score if played too aggressively. Most shots that land on the left side of the green enterance will move toward the center of the green.
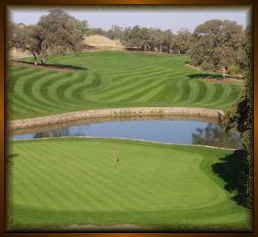
Hole 18 | Par 4
LAST CHANCE
As difficult as it is beautiful, this is one of the most challenging holes in Northern California. Trouble on the left, O.B. on the right. Any tee shot down the middle will suffice. Your approach shot is downhill to a large green guarded by a lake. A par here should leave a very happy impression of Catta Verdera Country Club.
